I’m wishing…

Here in the northern hemisphere, the days get shorter and shorter, the nights get colder and colder, and sometimes we need a bit of help to to honor and respect the cold, dark, and stillness. This year, in particular, winter is conjuring thoughts of Persephone, stuck in the underworld, living with Hades. There seem to be more reasons than usual to feel discouraged and maybe downright blue. So what better time to create a healing tool to bring focus on your aspirations: hopes, dreams, affirmations, resolutions…wishes!
And that’s just what the Wish House is for.
What’s a Wish House?
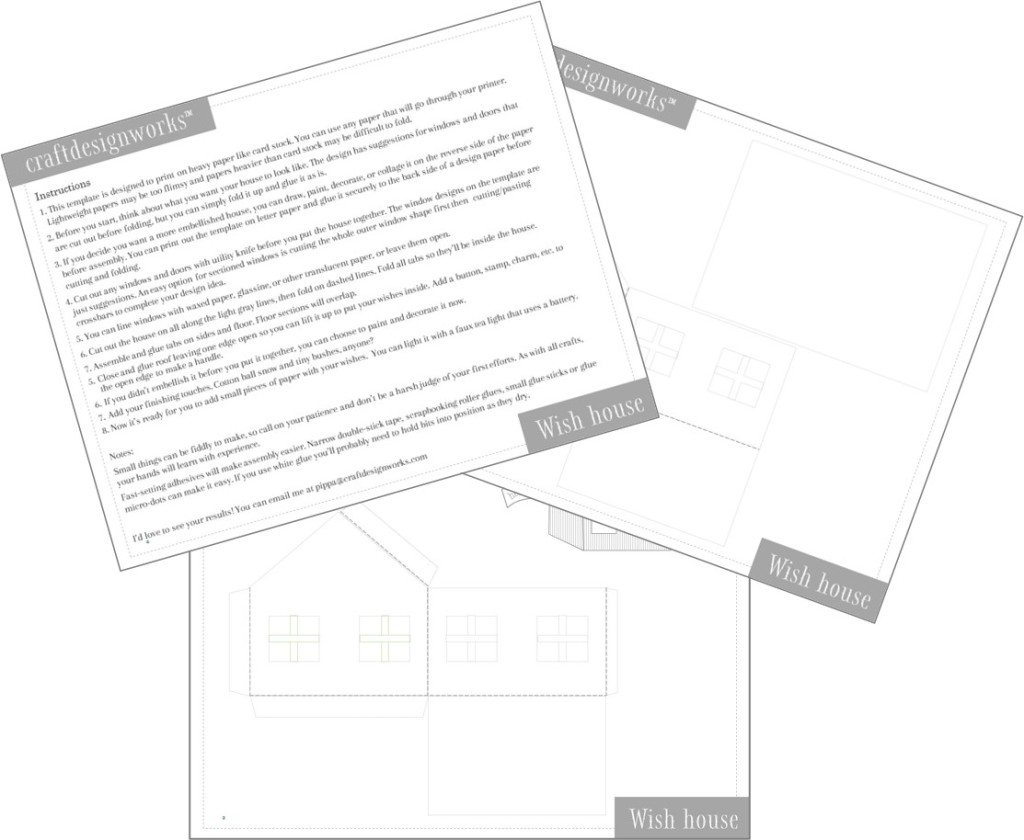
It’s a simple paper construction that you make yourself. It might be for you to use, or it might be something you want to give to someone you care for. It’s designed to clarify and focus your good wishes, hopes, aspirations, even your yearnings.
How does it work?
Let’s cut to the chase: a wish house is a magical object. It follows the same principles as the 70s-era pyramids, made to concentrate energies. We don’t know how the magic works, if it works, or if the magic is you as you make it and use it.
Nonetheless, I’m happy to share the pattern and method for making and using a wish house. As far as I can tell, the magic begins when you decide to make one. It begins to clarify and focus as soon as you start to step through the process.
Here are the elements you can personalize so you can fully power up your wish house:
1 – Intention
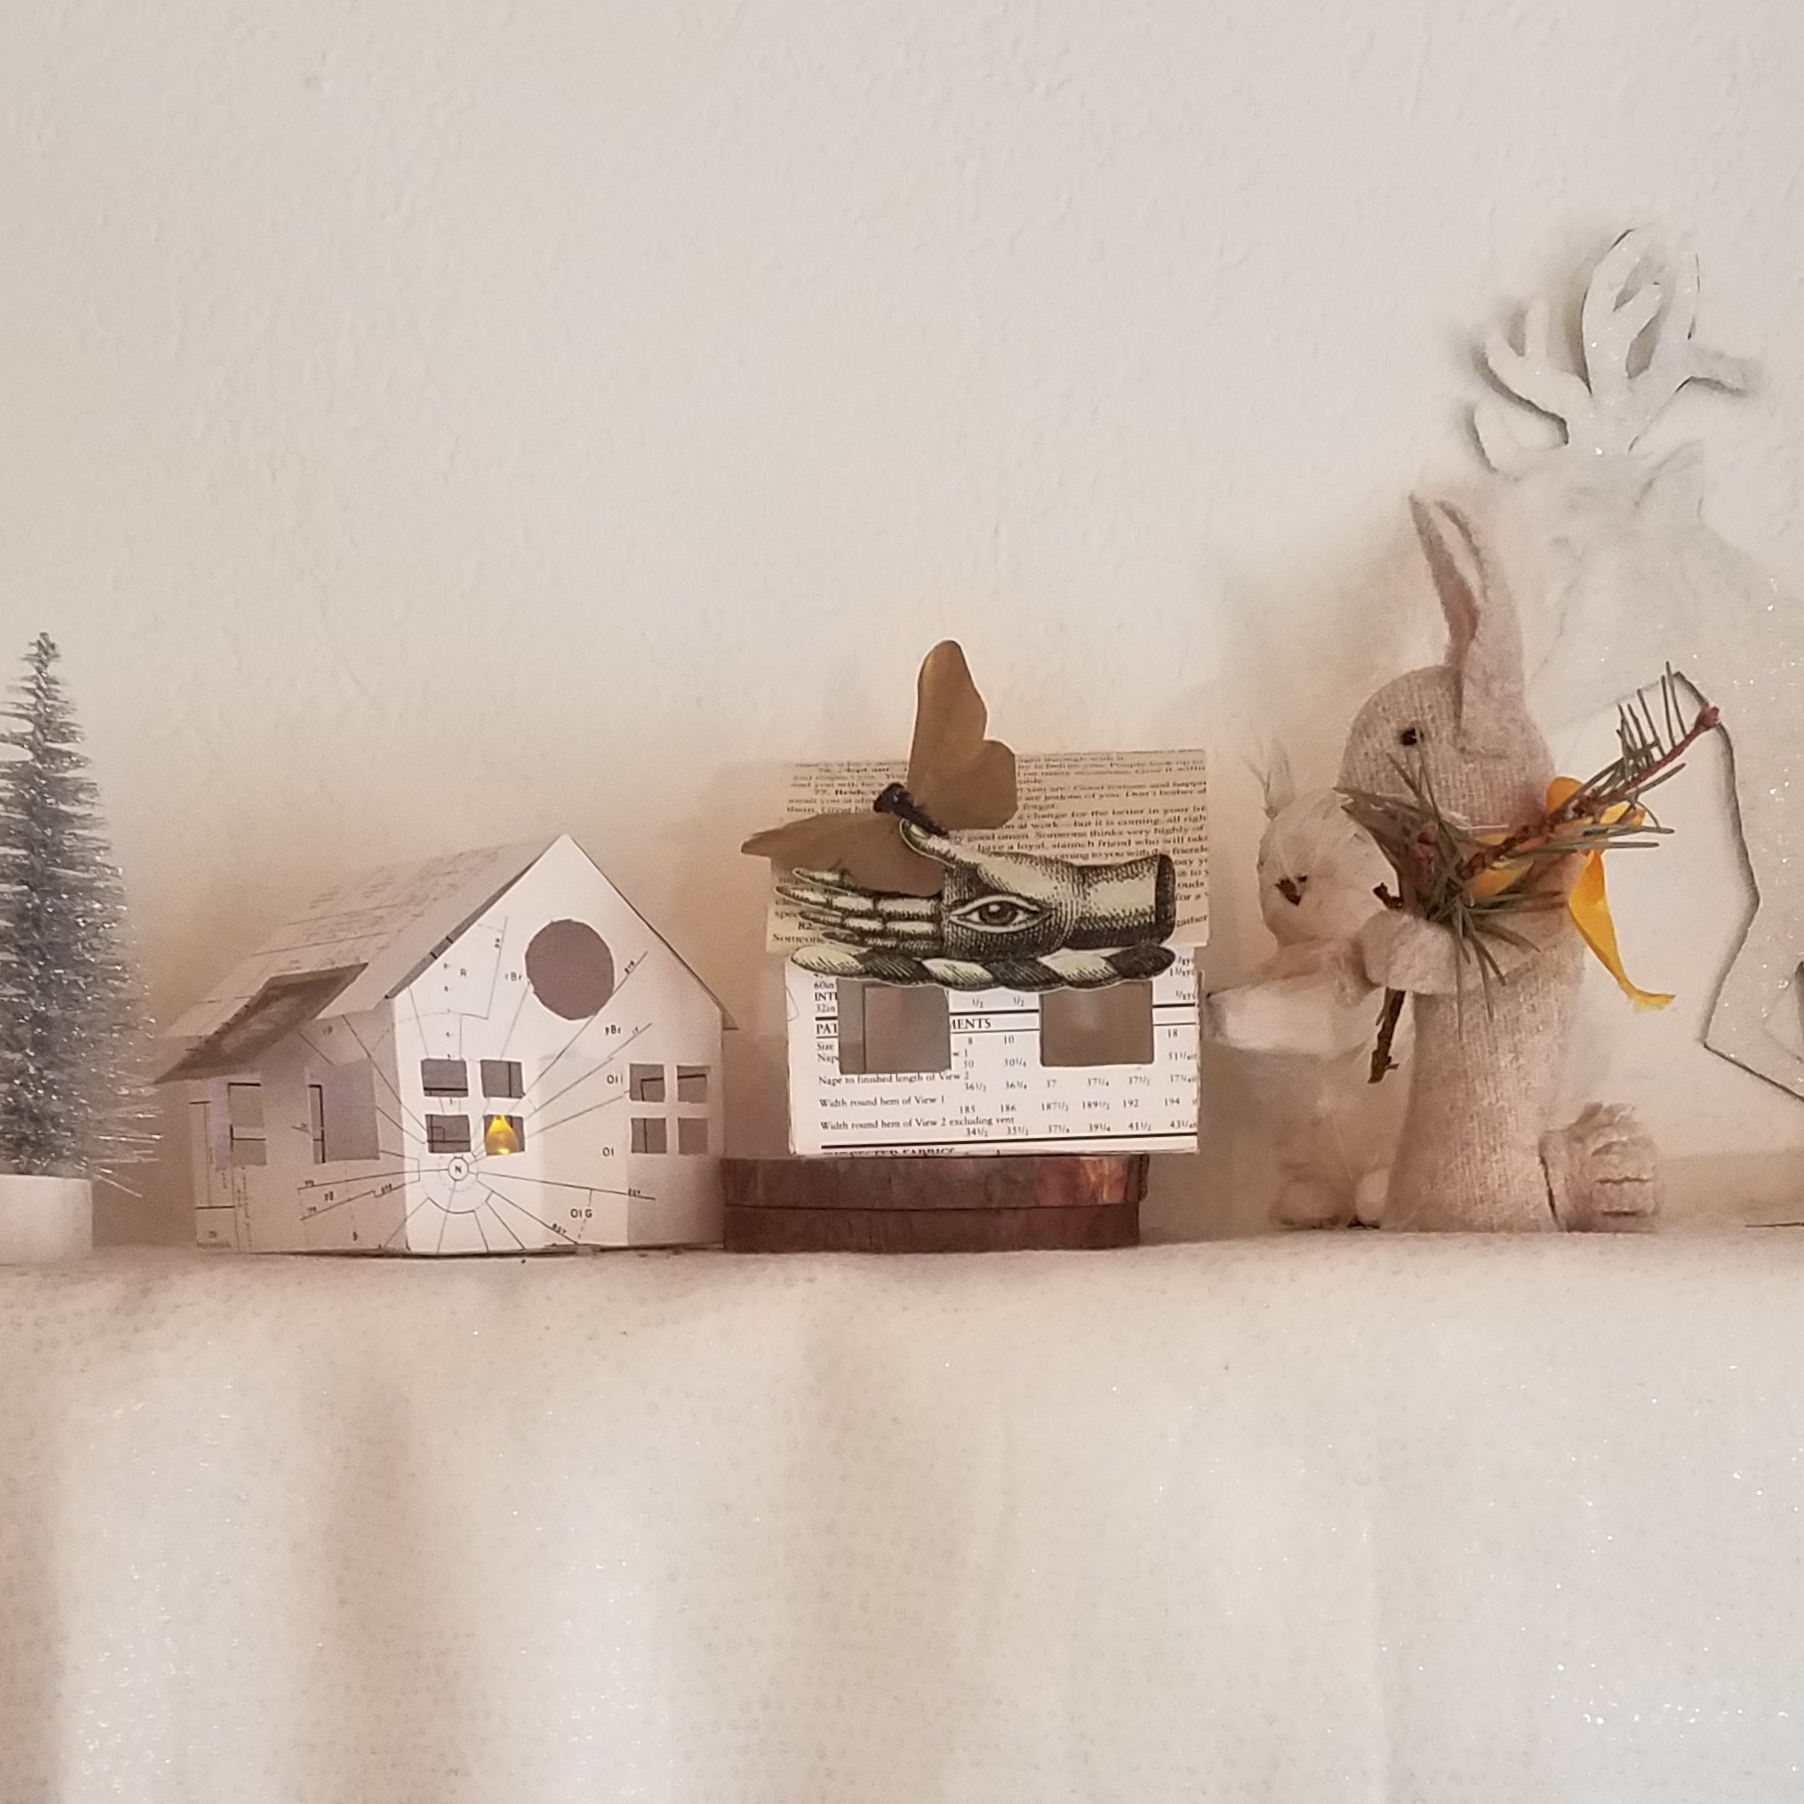
First, you can clarify the intention. Are you making something for yourself or for someone else? Pause for a moment and see the power you want to invoke, the changes you’d like it to bring. My wish house for 2022 welcomed vision and transformation with a golden butterfly and an antique hand. My wish house for the new year of 2023 invited right brain/left brain interplay. What sounds right for your life?
2 – Exterior
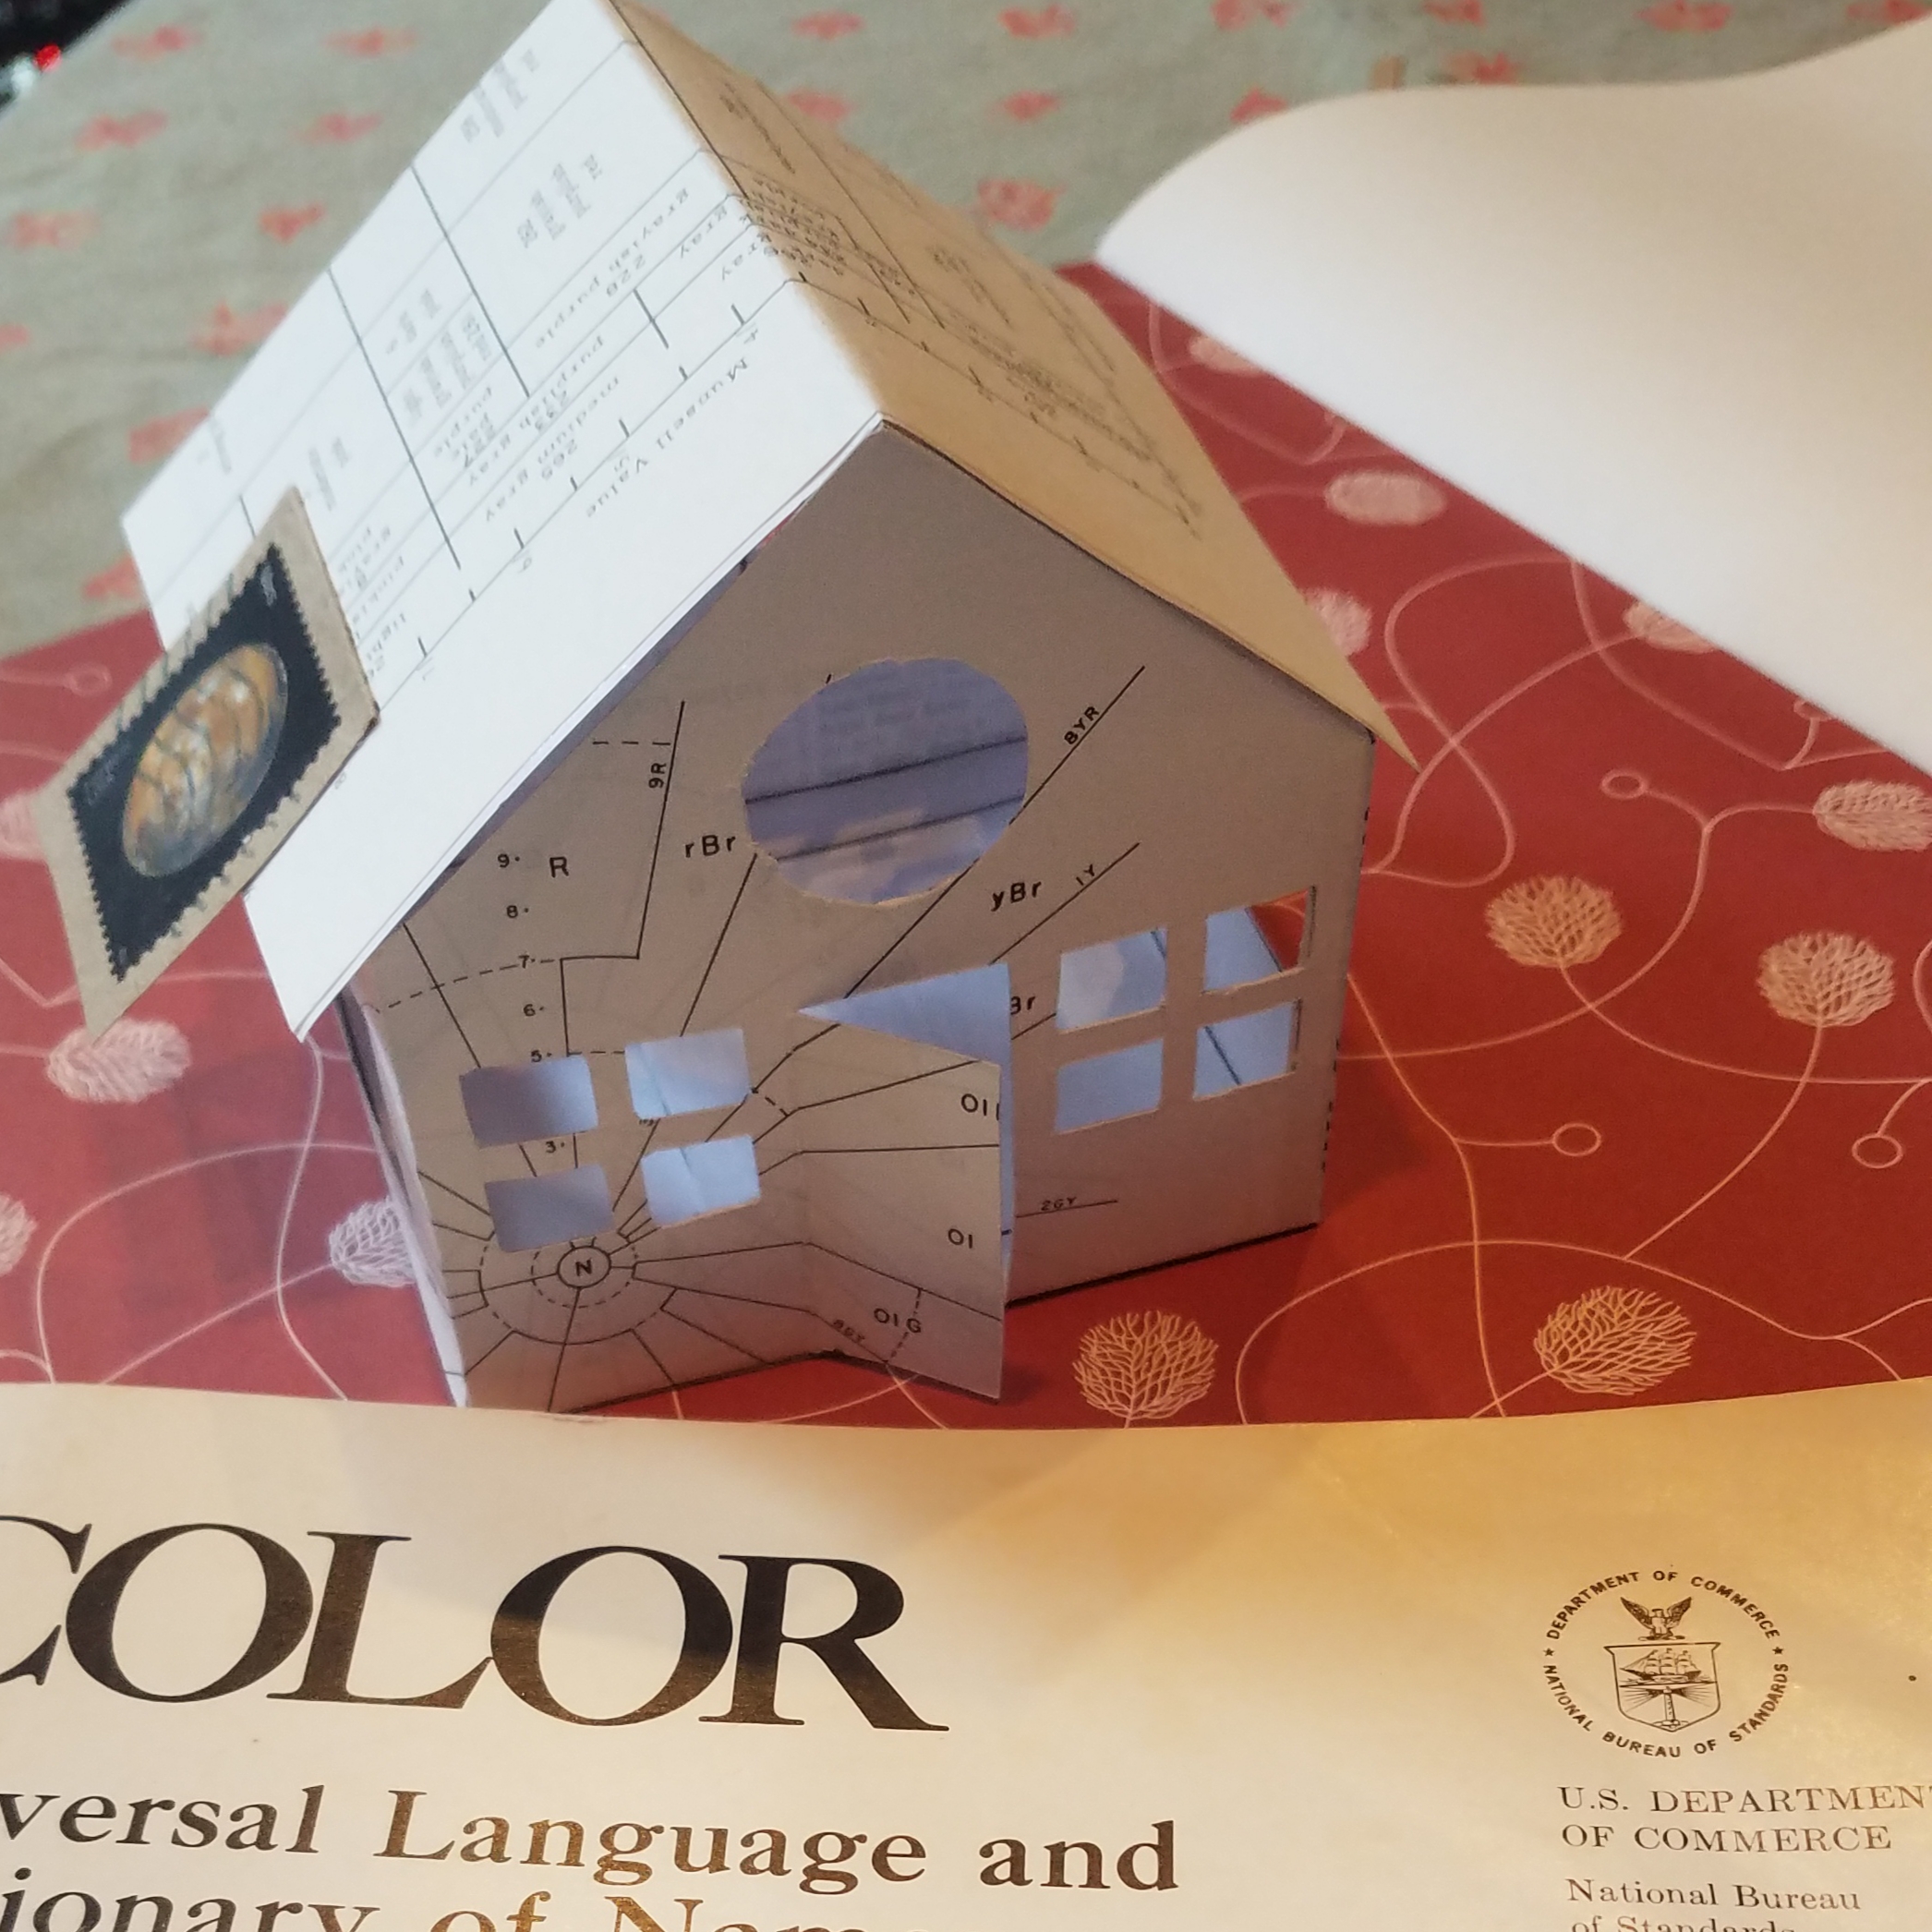
What will you make it out of? Old books, letters, copies of family photos, flags, drawings? For 2023 I used a book that had been discarded from our library, full of very technical information and data about color. I liked that it combined left brain and right brain content in one place.
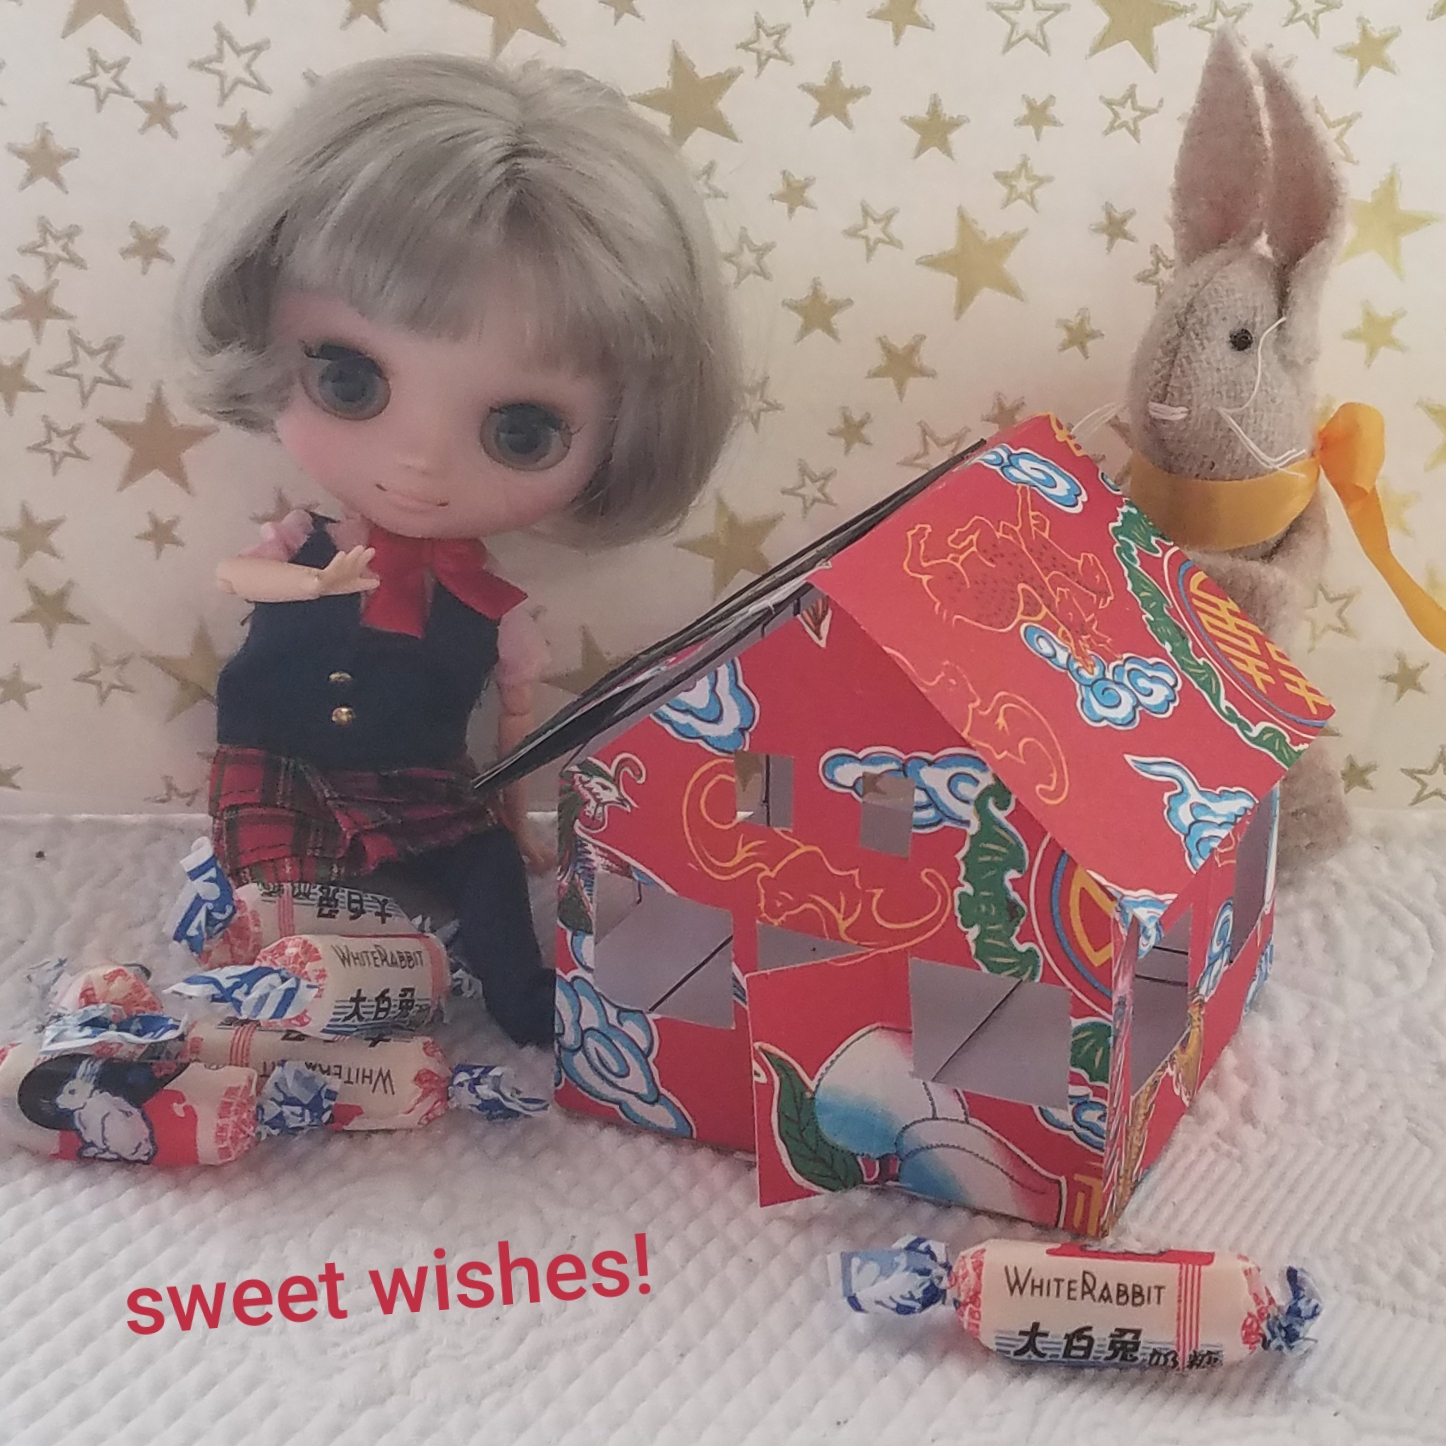
For the Year of the Rabbit, I used Asian red wrapping paper covered in auspicious symbols.
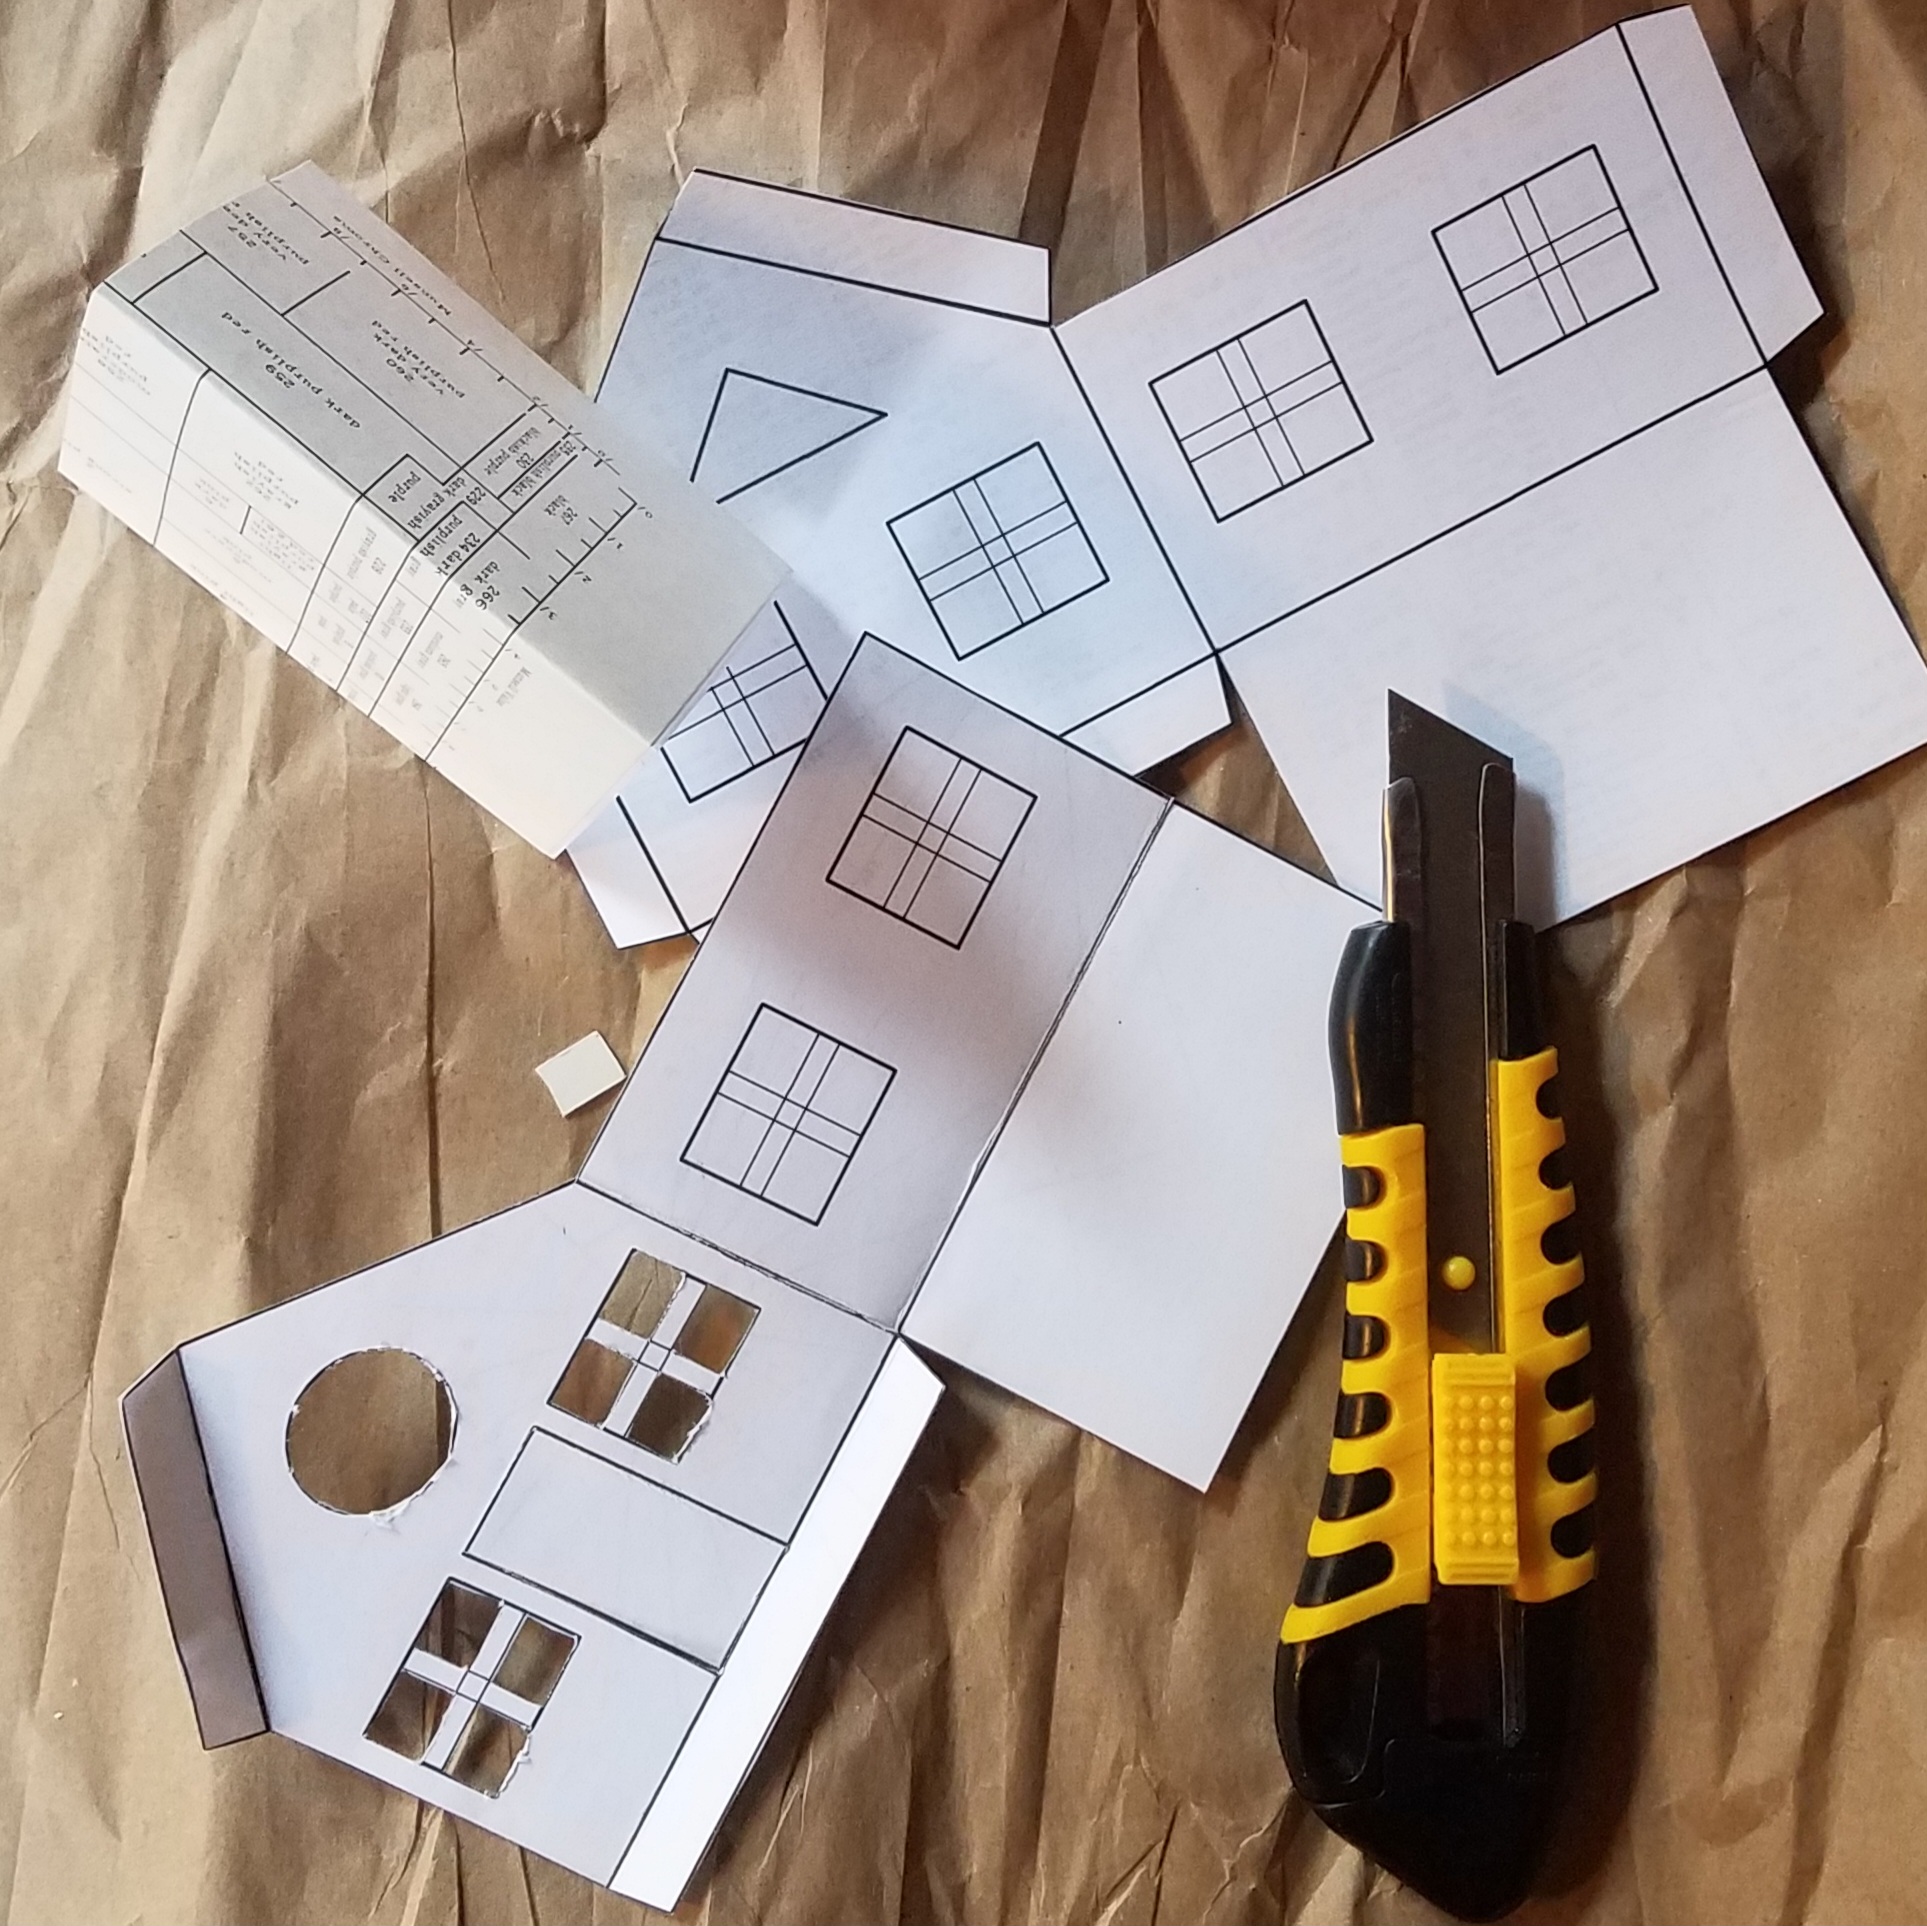
3 – Windows? Doors?
What openings will your house have? What kind of windows do you want to make? Will they be open and empty, made of waxed paper, cellophane or glassine? Will you fill them with images that resonate with your wishes?
4 – Roof and closure
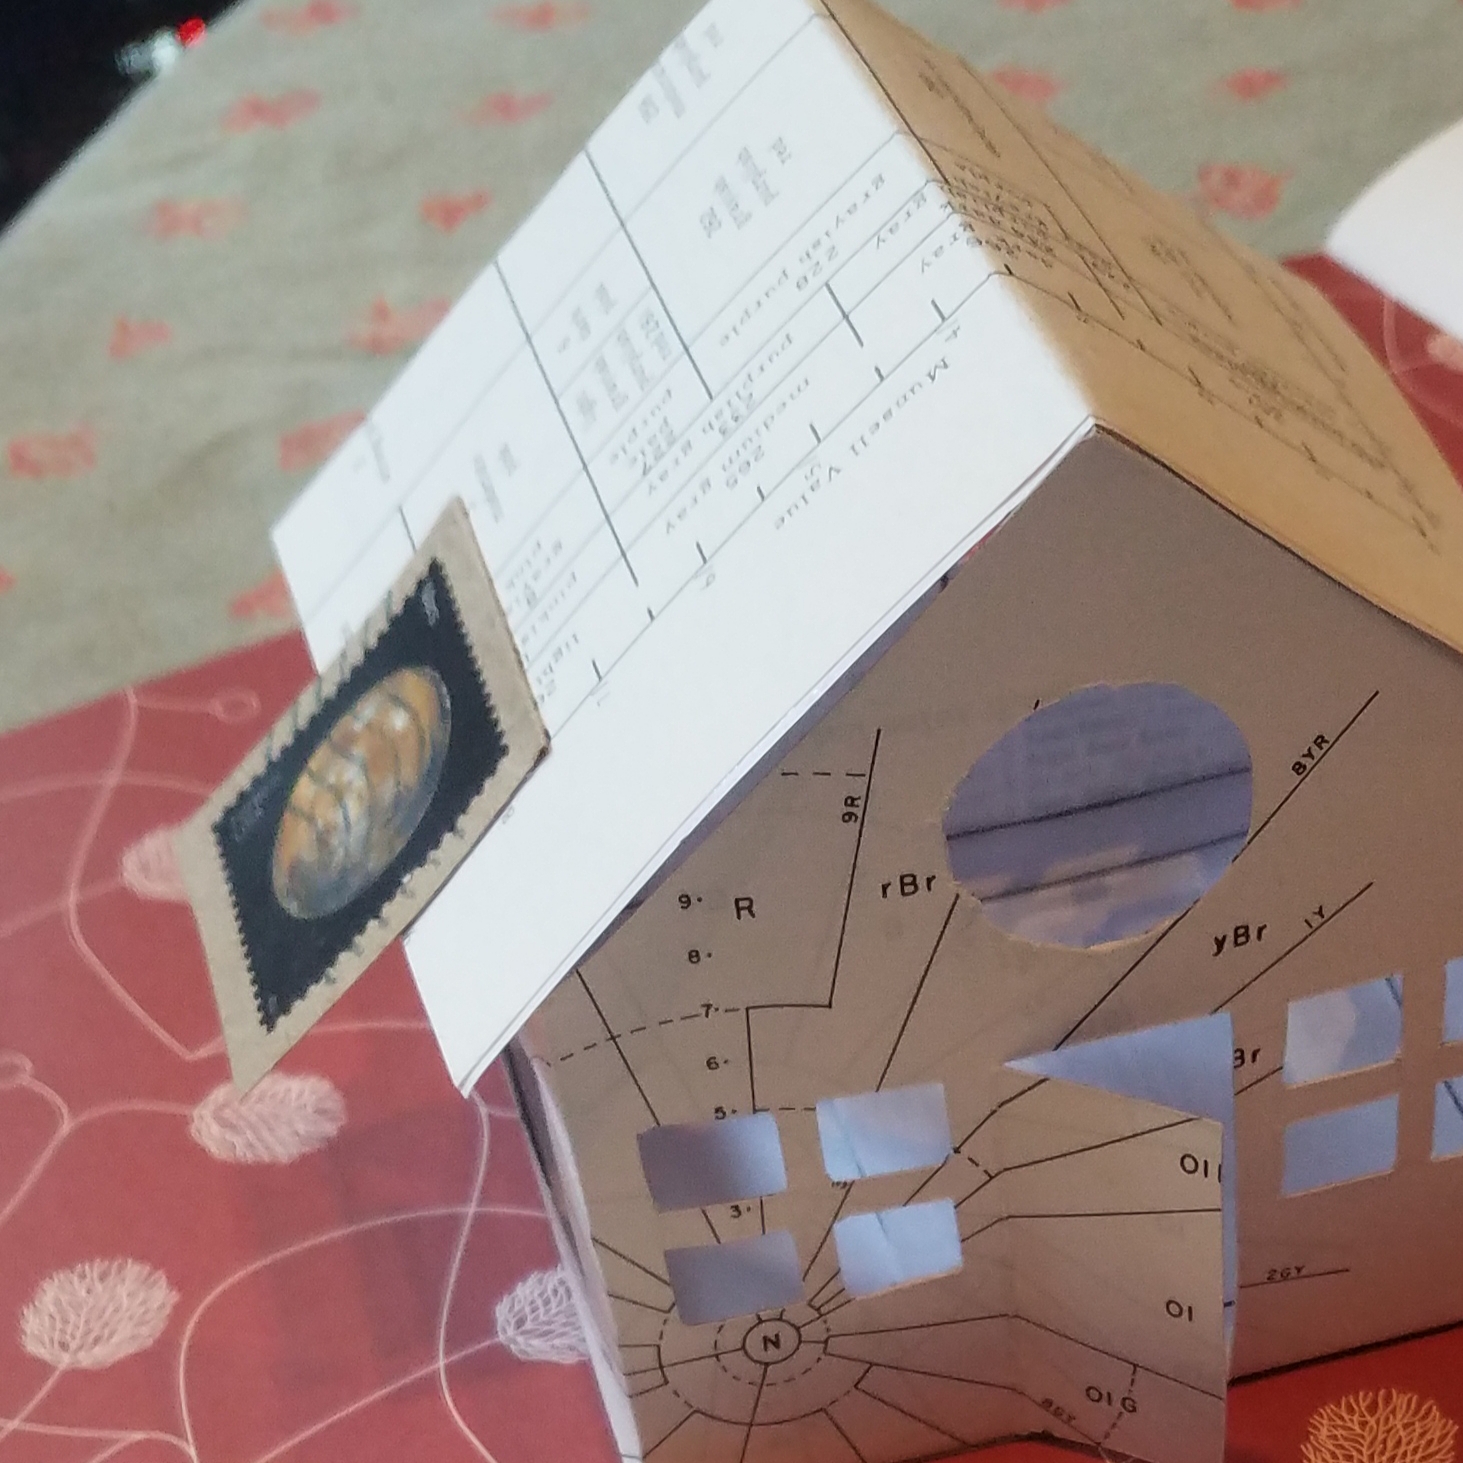
How will the wishes get in? The pattern is designed for one side of the roof to lift open. I like to choose a special image to be the roof handle, so every time I open or close it I’m reminded of the meaning.
5 – Illuminate
To make it glow, you can put a flameless tea light in inside it. Since it’s made of paper, I don’t recommend using an actual candle, unless it’s safely resting inside your fireplace or outdoors, where you won’t create a disaster instead of furthering your wishes.
6 – The wishes
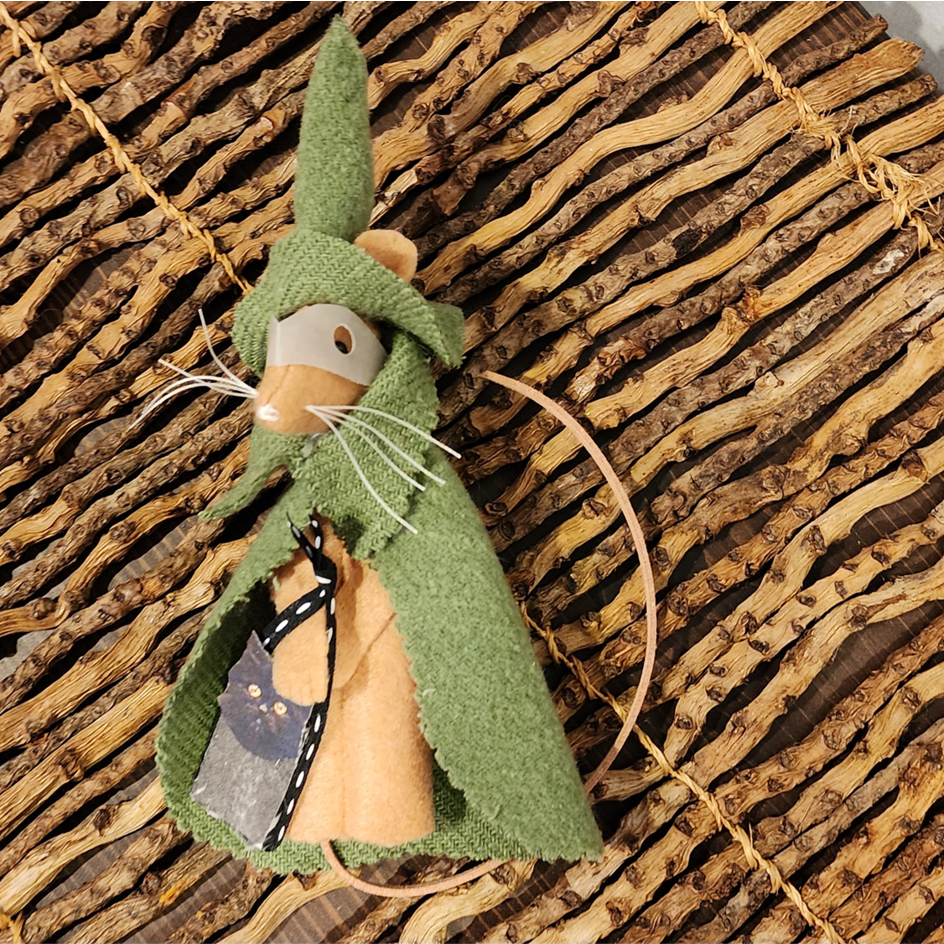
The wishes can be simple slips of paper with the wishes written on them or small objects you find meaningful. For example, If you have healing wishes for someone far away (or someone who’s passed to the other side), you could slip a small photo into your wish house. Or your wish house can be a home for your current affirmations.
7 – Ritual
My ritual is simple. When I’m so moved, I write things on slips of paper and put them into the house while thinking about them. I let them build up over the year. On New Year’s Eve, with a fire in my fireplace, I burn them one at a time, releasing their energies as I think about how they’ve manifested in my life. Or maybe that I need to bring the same wish forward into the new year. Do whatever makes sense for you.
8 – Sharing
If you’ve made it as a gift, have fun and use your imagination wrapping it up for the recipient. Maybe even start them off with a wish or two.
If you want to send it but don’t want to deal with finding the right box to house it as it travels, you have 2 other options: cut and fold it so it fits into a 5×7 envelope with the instructions for putting it together; or send the 3 pages, unfolded, in a 9×12 envelope for the recipient to construct themselves.
I hope you’ll feel a bit cheered, and maybe inspired, at the idea of a wish house to invite and strengthen energies in your life. I do believe we cannot afford to despair right now. Magnifying hopes and dreams is an important affirmation of their power. My wish house for 2024 will be powering up my wishes for the world to hold more compassion, understanding, and peace as we move forward. Onward!
Please let me know if you make one!